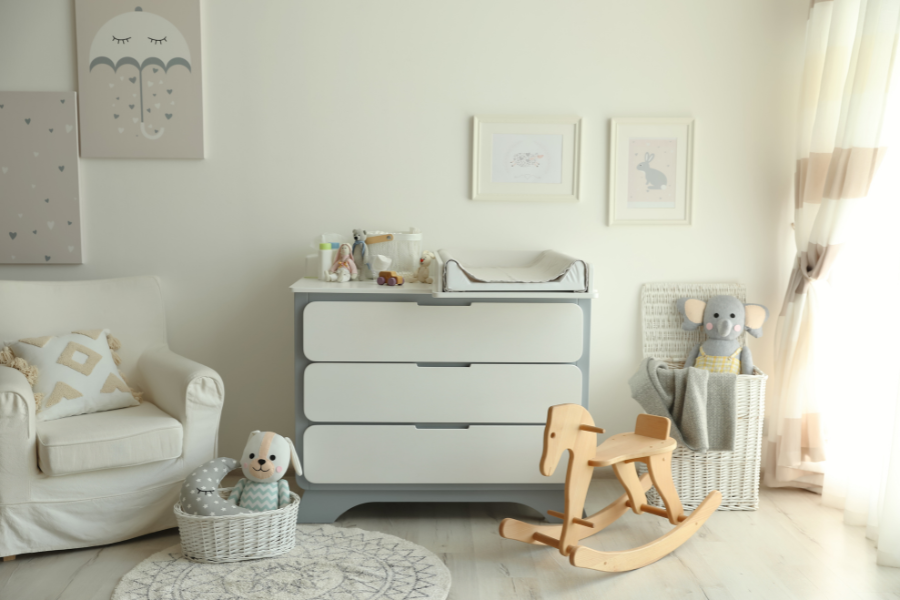
The Ultimate Diaper-Changing Station Guide
Congratulations, new parents! You've embarked on a beautiful, messy (literally) journey. Among the many things to prepare for, a well-equipped diaper-changing station is a must-have. It's your battleground against blowouts, and with the right setup, it can be a smooth (and maybe even enjoyable?) experience for both you and your little one.
1. Location, Location, Location:
First things first, choose a spot. Ideally, it should be close to your baby's crib for convenience, and have enough space for a changing pad and storage. Look for a well-lit area with good ventilation – trust us, you'll appreciate both!
TIP: If you have ample space, consider creating a secondary diaper-changing station near the bathtub. While it doesn't need to be as fully stocked as your main station, it can be incredibly convenient for post-bath changes or those surprise leaks that require a quick pit stop! ;)
2. The Changing Pad:
This is your battlefield HQ. Opt for a comfy, wipeable pad with raised edges to prevent escapes. Consider a contoured pad for added neck and head support. Don't forget waterproof changing pad liners – lifesavers against leaks!
3. Stocking Up for Success:
Now for the arsenal! Here's what you'll need within arm's reach:
- Diapers (various sizes): Stock up on your chosen diaper brand in the current size.
- Wipes: Gentle and fragrance-free wipes are ideal for sensitive baby skin.
- Diaper cream: Be prepared for occasional diaper rash with a pediatrician-recommended cream.
- Diaper pail: A good quality diaper pail with a secure lid is a must for odor control.
- Extra supplies: Toss in cotton balls or washcloths for extra cleaning, and a small bin for dirty clothes (because accidents happen!).
TIP: No diaper pail is complete without its ultimate sidekick: a high-quality refill bag! Enhance your nursery essentials with Moop Refills, the perfect partner for your diaper bin, guaranteeing optimal performance.
4. Organization is Key:
Keep the chaos at bay! Utilize shelves, baskets, or drawer organizers to neatly store your supplies. Wall-mounted organizers are space-savers, especially in smaller nurseries.
TIP: Since leaks are a common occurrence, especially with young babies, ensure you have clean baby bodysuits readily accessible to avoid leaving your baby unattended on the changing table.
Bonus Tips for Champions:
- Entertainment for Duty: A mobile or a small mirror can keep your baby distracted during changes.
- Lighting Matters: A dimmable lamp is perfect for those late-night diaper changes.
- Safety First: Always keep one hand on your baby for safety while changing.
Remember: Your diaper-changing station is a work in progress. As your baby grows and your needs change, adjust your setup accordingly.
With this guide and a little practice, you'll be a diaper-changing pro in no time! And hey, if things get messy (they probably will!), don't sweat it. Deep breaths, a clean-up session, and a fresh diaper – you've got this!
